Table of Contents
-
Understanding Dental Impressions
-
A Step-by-Step Guide For Handling Impression Putty
Step 1: Read Instructions Carefully
Step 2: Ensure Proper Hygiene
Step 3: Mix The Putties
Step 4: Figure Out The Correct Tray
Step 5: Place The Putty on Tray
Step 6: Put The Tray in Mouth
Step 7: Remove The Tray
Step 8: Repeat The Process
Step 9: Send The Impressions Back
Tips To Handle Dental Impression Putty Like a Pro
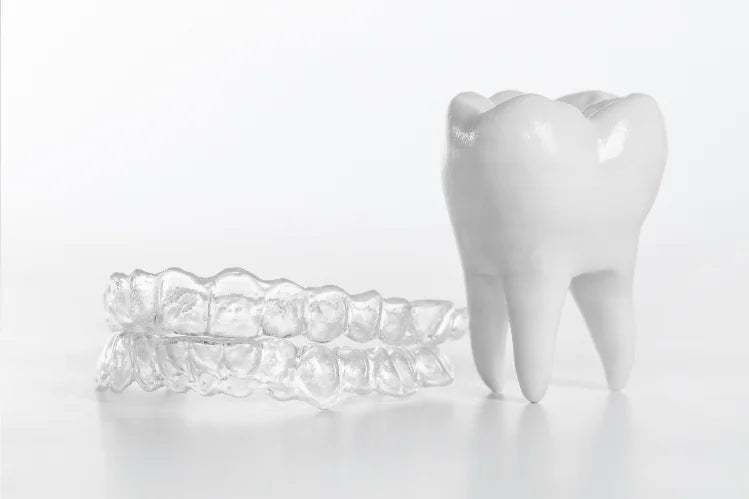
The progress in the orthodontics world has introduced convenient ways to transform your smile. Clear aligner treatment is one of the easiest ways to align your smile. They are manufactured with the help of your dental impressions. If you wish to generate your impressions at home, this blog is for you. We will explore a step-by-step guide for you to handle dental impression putty like a pro.
Understanding Dental Impressions
Dental impressions are imprints of your teeth and gums, used for creating dental models or aligners. The process involves biting on the putties which take the shape of your smile. It helps you get customized teeth straightening procedures.
A Step-by-Step Guide For Handling Impression Putty
If you wish to align your smile with the help of clear aligners, you will have to generate dental impressions. Keeping in view your convenience, you can now create them at home. The following is a detailed guide for handling impression putty like a pro:
Step 1: Read Instructions Carefully
The impression kit comes with a booklet that has all the instructions on how to use it. Take the booklet out of the kit and read it carefully to understand the basics of using the impression kit.
Step 2: Ensure Proper Hygiene
Proper hygiene is an important factor when it comes to your dental treatment. It is important to brush and floss your teeth before taking dental impressions so that no food particles remain stuck in your smile.
Furthermore, before you begin your dental treatment, make sure your hands are properly cleaned. Take out the gloves and wear them to take the next step.
Step 3: Mix The Putties

Impression putty with a dental model. Once you are ready, take out the impression putties from the kit. It comes with two putties, one is the catalyst and the other is the base. Mix them well until they are in a uniform color, with no white streaks. The average time for mixing the putties is 30 to 45 seconds. Be mindful of the time, before they get hardened. After mixing them properly, use your palm and roll the putty in the shape of a sausage.
Step 4: Figure Out The Correct Tray
The impression kit comes with trays for the upper and lower arch. You need to figure out which is the right one. The upper arch has the palate guard whereas the lower arch comes without it. This helps you identify the suitable tray for your impressions.
Step 5: Place The Putty on Tray
Load sausage-shaped putty in the impression tray and adjust it with the help of your fingers. Make sure it is placed properly so that it takes the impressions of the molars as well.
Step 6: Put The Tray in Mouth

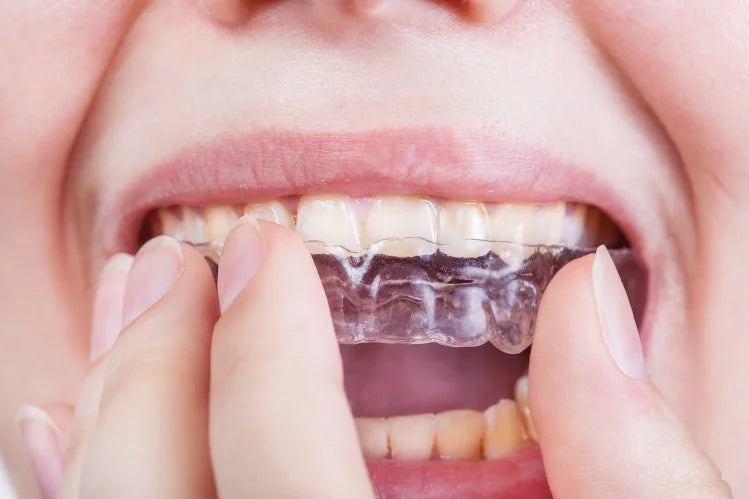
Closeup of impression putty with teeth imprints. Once the tray is ready, place it in the mouth. Make sure it is placed in the center of your mouth. Slightly bite on the putty so that you get your teeth impressions. Make sure the tray covers the complete arch and gets imprints of your molars as well.
Step 7: Remove The Tray
Hold the tray for a few minutes and then remove it gently by simply pushing it downwards (upwards in the case of the lower arch). Let the impression set for a while before you move to the next step.
Step 8: Repeat The Process
Repeat this step-by-step procedure for the other arch as well. A good impression has a clear image of each tooth and the gumline.
Step 9: Send The Impressions Back
Take out the impressions from the tray and let them set for a while. Mail your impressions back to us for the customization of your clear aligners.
Tips To Handle Dental Impression Putty Like a Pro

A person holding an Impression putty in a hand. Dental impression putties should be handled carefully. If you are creating dental impressions at home, the following are some tips for you:
Avoid Repositioning
A perfect dental impression is clear and has the perfect imprint on your teeth. For this sake, once you have placed the tray in your mouth, do not reposition it. If you do so, your imprints will be unclear and you will have to repeat the entire process.
Remove the Tray Gently
When you are removing the tray from your mouth, do not force it to come out. Be gentle and put slight pressure while you are removing it.
Be Aware of the Time
Keep a timer with you to keep notice of the time for each step. As impression putty gets hard after a few seconds, you need to be quick while mixing it, placing it in your mouth, and letting it set.
Order Impression Kit From Smilepath
Considering your requirements, Smilepath offers an at-home impression kit for your smile. It has everything you need and comes with all the guidelines. The Smilepath impression kit has the following items in it:
- Impression putty and trays
- Cheek retractor
- Disposable gloves
- Smile projection
- Free shipping within New Zealand
To sum it up, clear aligners are a comfortable and convenient orthodontic procedure. They are customized according to your dental impressions which can be created at home. Order a Smilepath impression kit which will help you create your impressions at home. At first, you might find it tricky to handle the impression putty but once you follow all the tips and tricks, you can be a pro. Stay patient and trust the process.
FAQs
How to use a dental impression kit?An impression kit comes with a guide and all the things you will need to generate impressions. Mix the putties in the trays and place them in the mouth.
After sending back my impressions, how long will it take to receive the treatment plan?After we receive your dental impressions, you will receive a customized treatment plan within 2 to 3 weeks.
What are clear aligners?These are dental trays customized according to the size of your mouth. Unlike metal braces, they offer a snug fit to your teeth and shift them to the desired position.
How do clear aligners work?Each set of aligners is worn for 20 to 22 hours per day for almost 10 days. They work by putting gentle pressure on your teeth.
How to identify impression trays for the upper and lower arches?The impression kit comes with two trays. The one with the palate guard is used for the upper arch, whereas the other is used for the lower arch.


 Australia
 New Zealand
 Malaysia
 English
 Portuguese
 English
 English
 English
 English
 English
 Canada